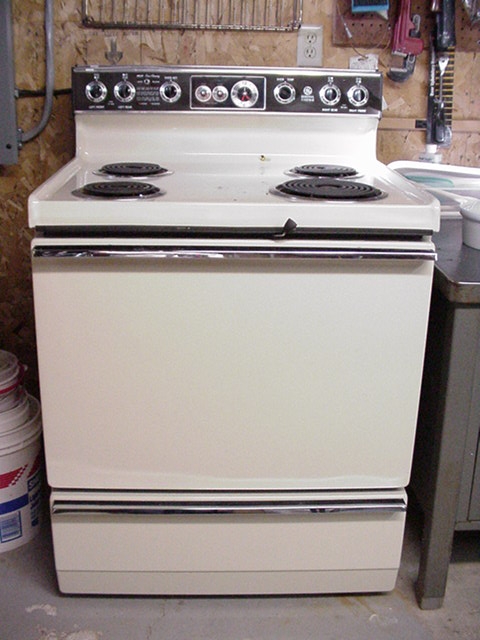
| Here's the oven. It's just a simple GE electric range. |
 |
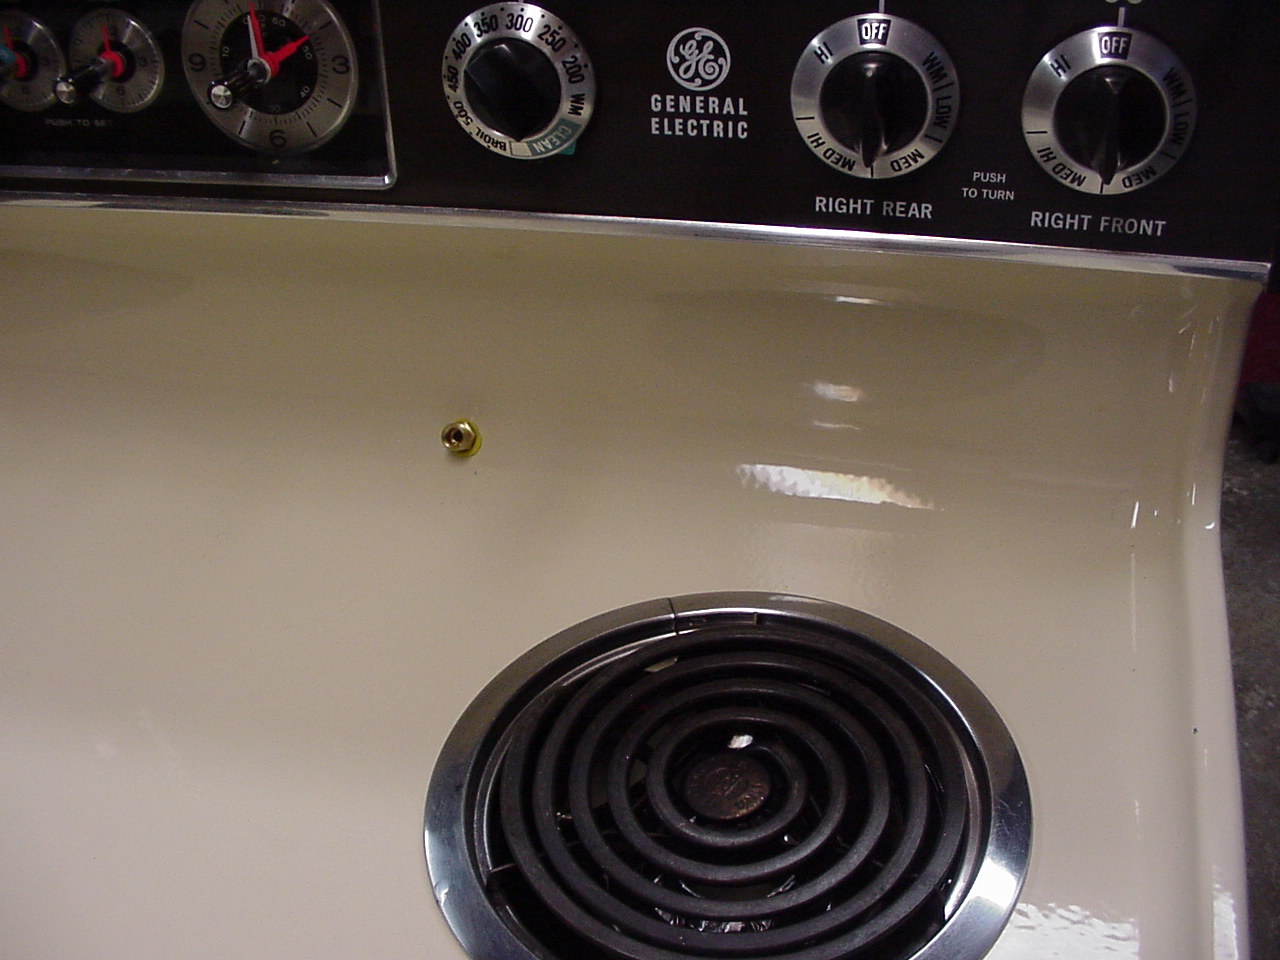 |
I needed an easy way to dispense boiling water into my oven. So I drilled
a hole in the back to install a 1/4" copper line. What you see here
is a compression union fitting that I connect my 1/4" silicon tube
to. |
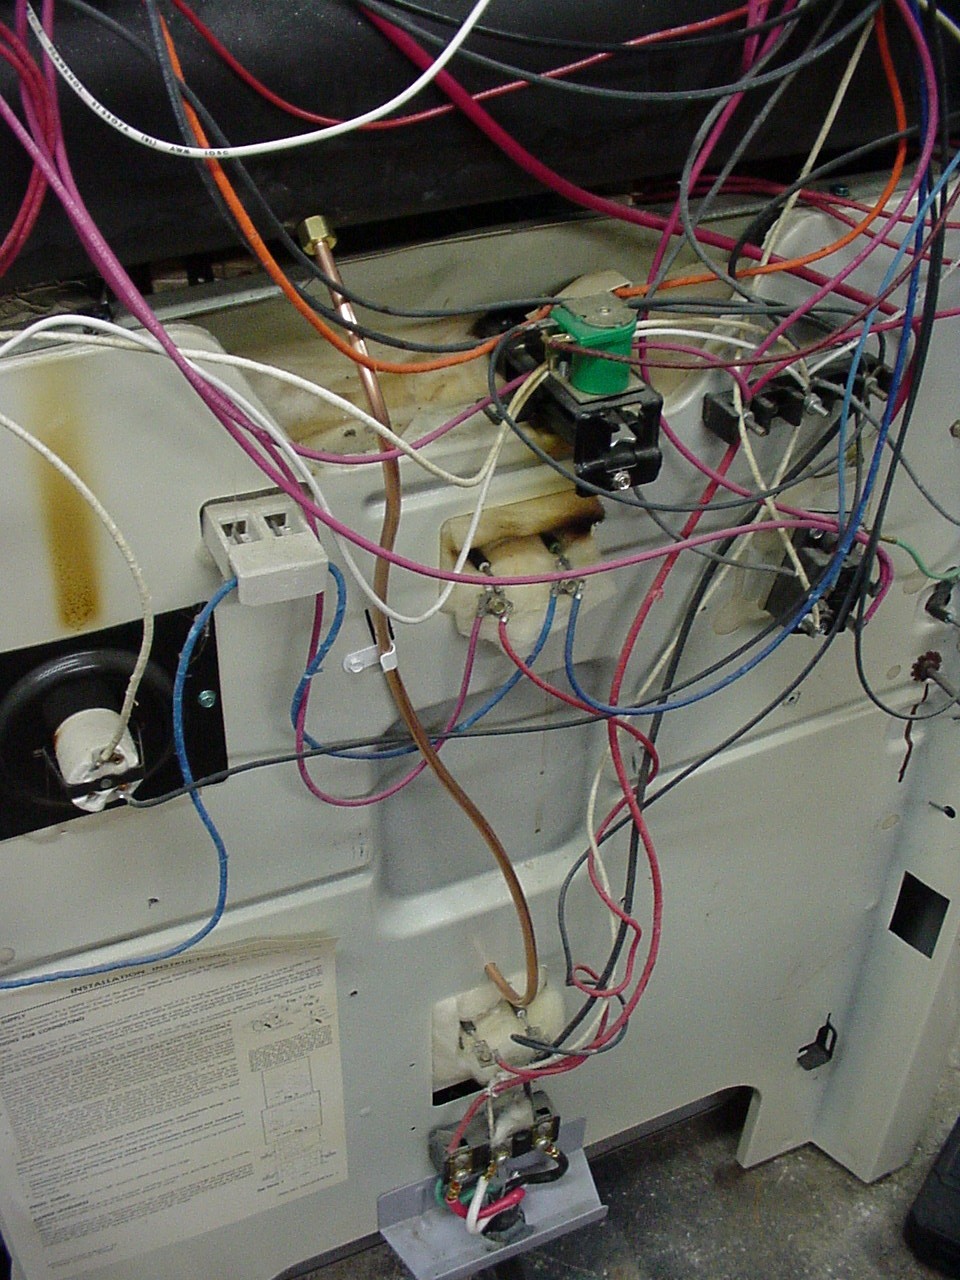
| Here's the backside. Notice the compression nut on the 1/4" line.
When you drill the range deck to install the union fitting, be very careful
and use a sharp bit, and drill slowly. The enamel will crack and chip easily.
Mine turned out fine. The line runs down the back and into the lower part
of the oven cavity. The copper line was very soft and easily bent.. |
 |
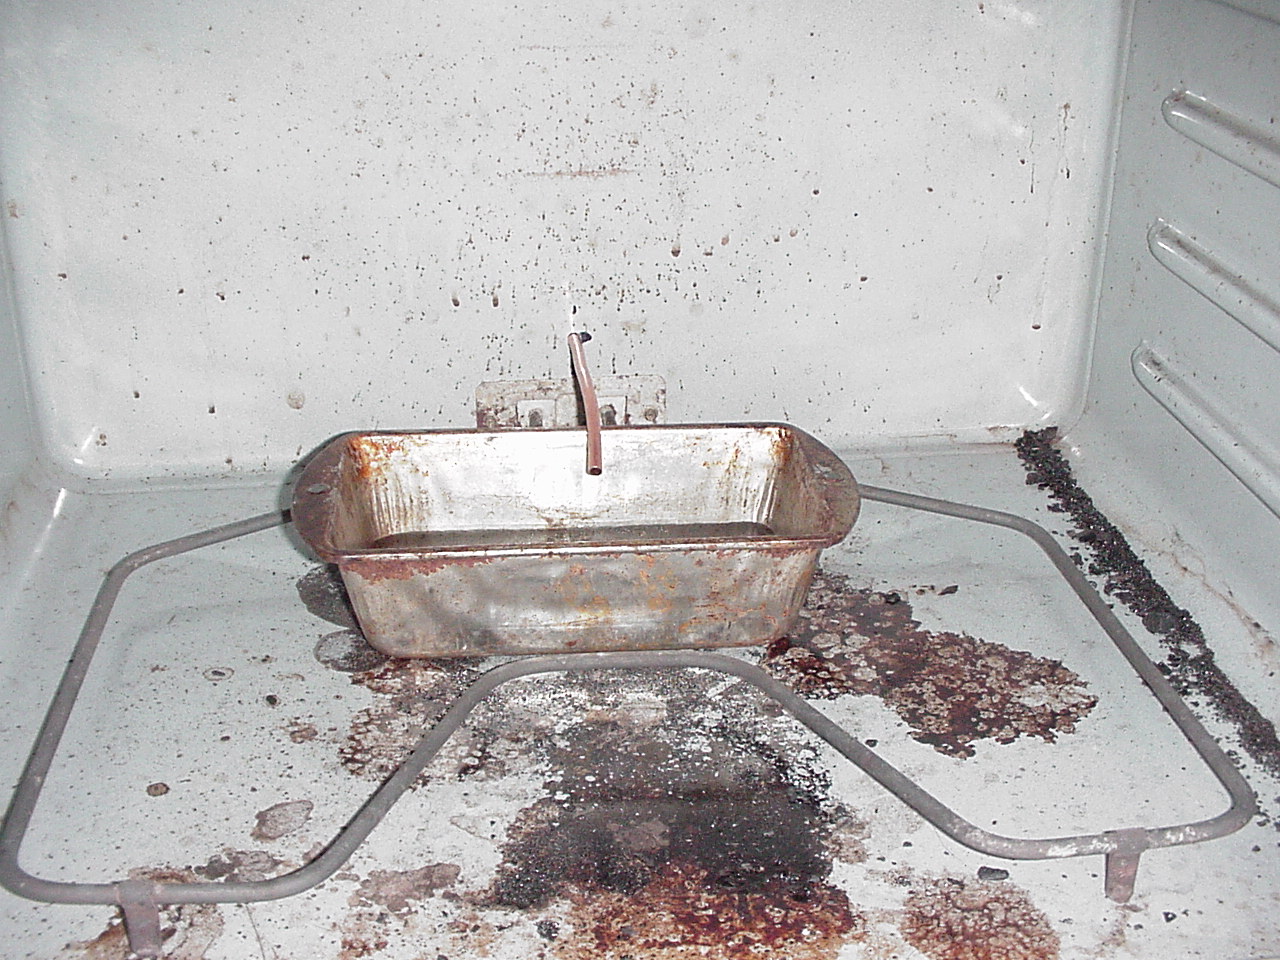 |
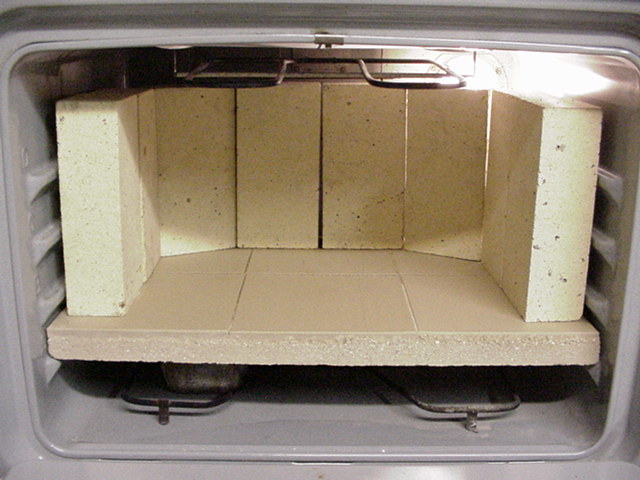
The oven is much cleaner now, self cleaning ovens are great. Notice how
the line is positioned just above my bread pan and it dips down slightly.
The pan fits nicely inside the element. The copper line was installed when
I cleaned the oven and the high cleaning temps oxidized the surface of the
copper. Things must get VERY hot inside here. I may install stainless steel
in the future. |
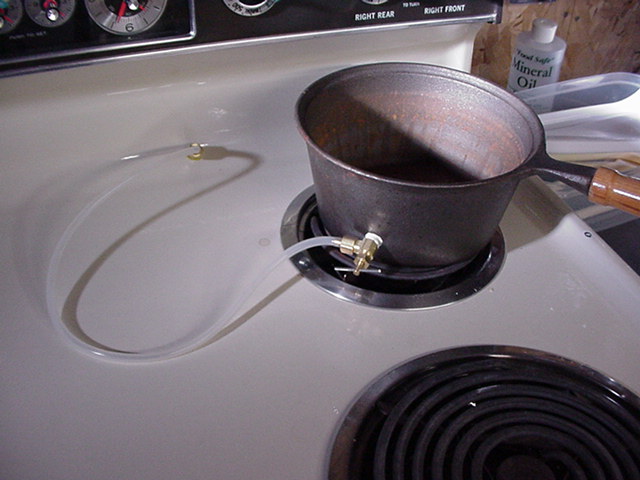
| Here's how I create my boiling water and control
rate of delivery. The silicon tube is good to 500°F. The valve is a
simple compression needle valve that I bought at a local home center. The
pot is cast iron and I tapped it so the 1/8" NPT threads of the valve
screwed right in. The silicon tubing was purchased at McMaster-Carr. |
 |
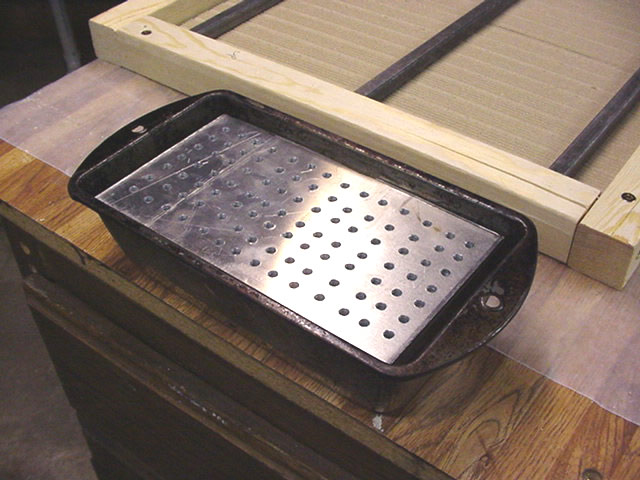 |
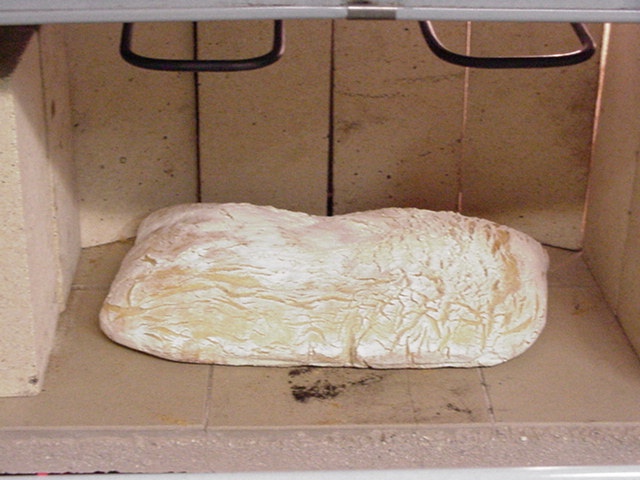
UPDATE: The following is no longer true. Disregard the photo to your left. I replaced this with a bunch of 2" landscaping rock and the water dribbles onto it. OLD: Here's the breadpan that was shown in the bottom
of the oven. It is nearly full of Alsey®
HI-CAST Refractory Castable mortar. The plate on top is 1/4" aluminum
with a bunch of holes and pressed into the wet mortar. This whole deal was
my idea. This pre-heats with the rest of the oven. Just after I put my bread
in, I open my needle valve a bit and let the water trickle onto this for
about 5 minutes. This a very large heat sink, sitting on a quite large thermal
mass. The steam produced by this is quite impressive. |
|
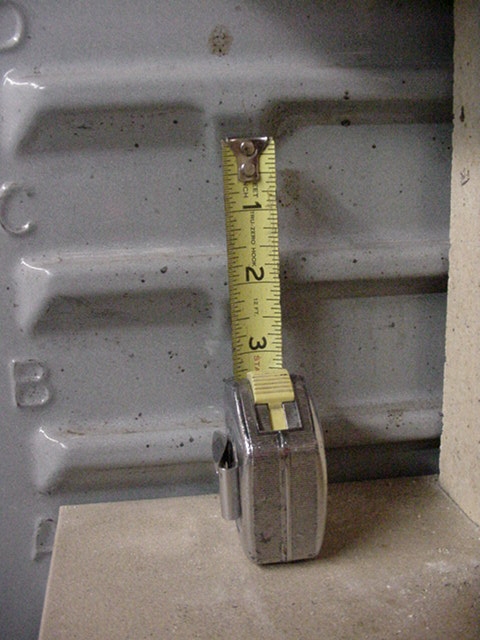
Ok, now we need to prepare to build the stone. Measure your oven width,
depth and the vertical distance between the shelf supports in the oven.
We're going to build a stone so that it can slide right into the oven and
be able to support the weight of the firebrick that we'll talk about later. |
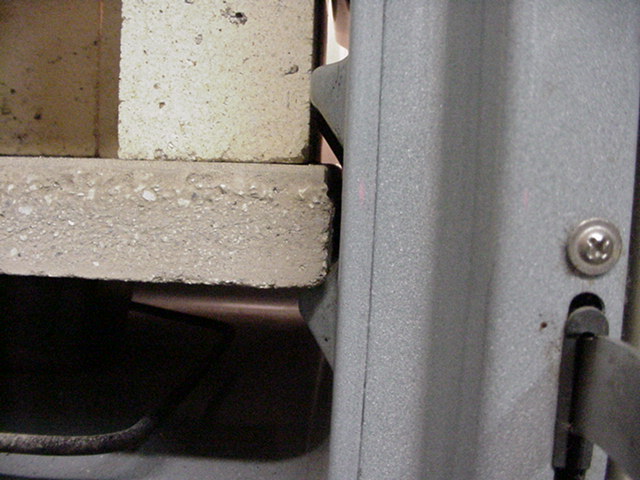
| Don't make your shelf so wide that you'll have problems sliding it in
and don't make it so narrow that it could fall off the shelf supports. I
*think* I made the stone the same width as my wire racks. You think for
yourself. It wouldn't hurt to make some sort of mock up that you could slide
it for testing purposes. I would advise you to build your stone so that
there is at least 1" of space is between your stone and the back wall
and 1" between the stone and the oven door. Don't forget that the door
ususally protrudes into the oven when closed, so plan for that. This 1" space is necessary for air circulation. |
|
|
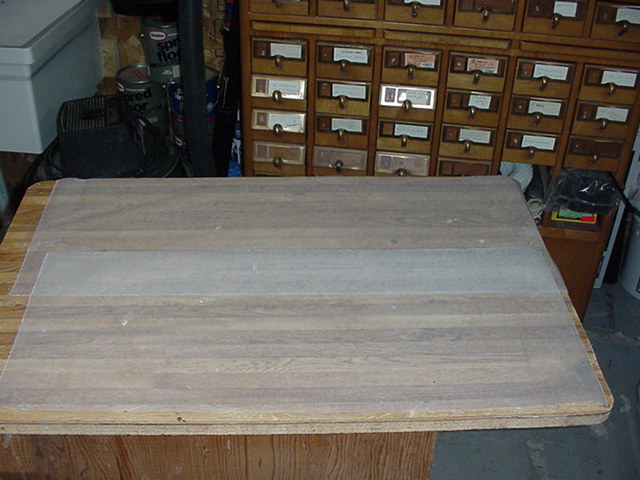
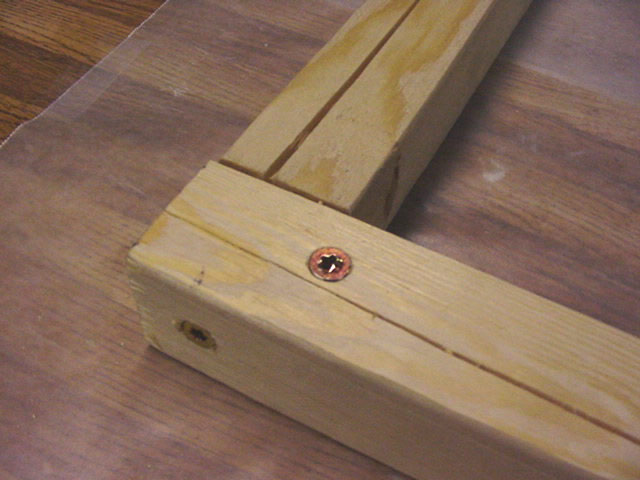
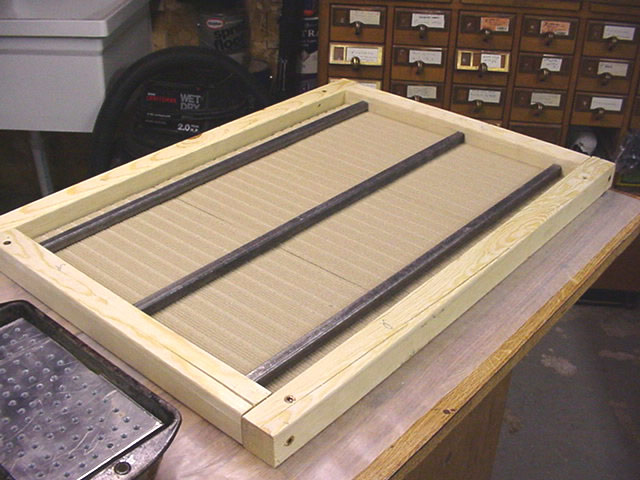
Now that you've decided on the size for your stone, you'll need to make
a form to hold the mortar. I used some scrap 2x2 (nominal) material and made the thickness
of the form just slightly less than 1 1/2". This picture is a bit ahead
of us, but it gives you the idea of what the form looks like. |
| When the form is done, you'll need to find a nice flat surface that you
can screw it to. I just happened to have an old piece of Formica® countertop.
These are very flat and perfect for my purpose. Put a some wax paper on
the surface before fastening the form. This ensures your shelf will not
stick to the Formica after the mortar sets up. |
|
|
Put your form on the Formica, or whatever you're
using and screw it down. If you don't want to screw it, you can clamp it
or something. It's up to you. I just wanted something solid so the screeding
(striking off the mortar) was easier. Clamps would get in the way of the
screeding, so screws were my choice. |
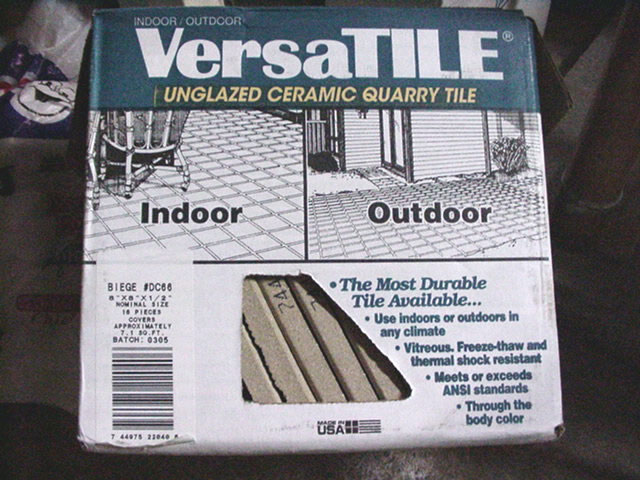
Let's talk about the tiles I used. My tiles were made
by Versatile, 4155 Martindale Rd. NE, Canton, OH, (330) 493-1272. I called
them to make sure their product was safe for cooking on. They were very
pleasant and assured me that there wasn't any thing hazardous (lead) in
them.I bought them at Menards, a chain of home centers in the Midwest. |
|
|
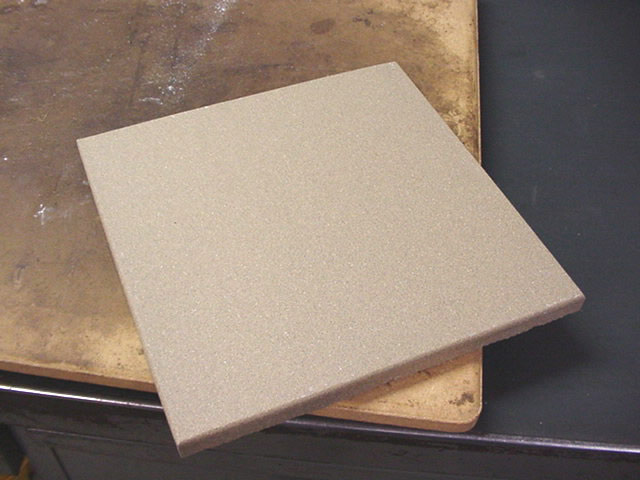
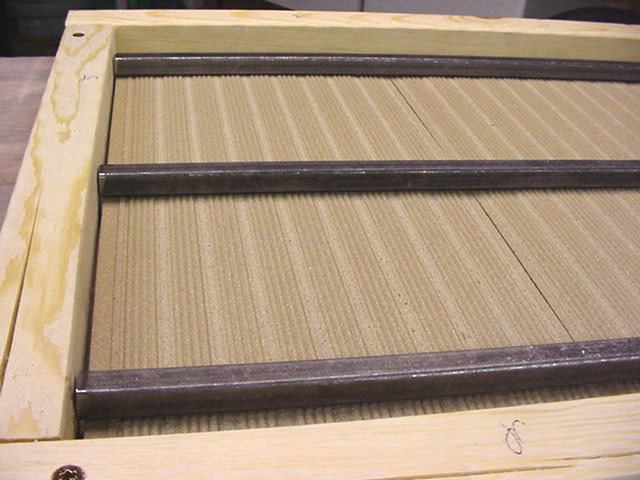
Here's a close up of the tile. They also came in a brick red color, but
I preferred the tan.These tiles will form the cooking surface of the stone |
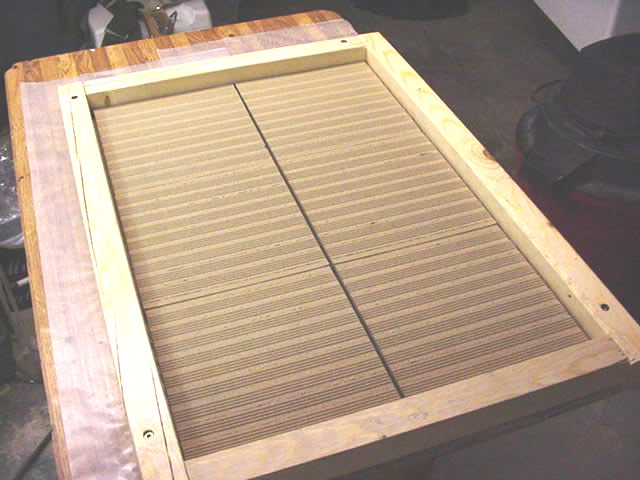
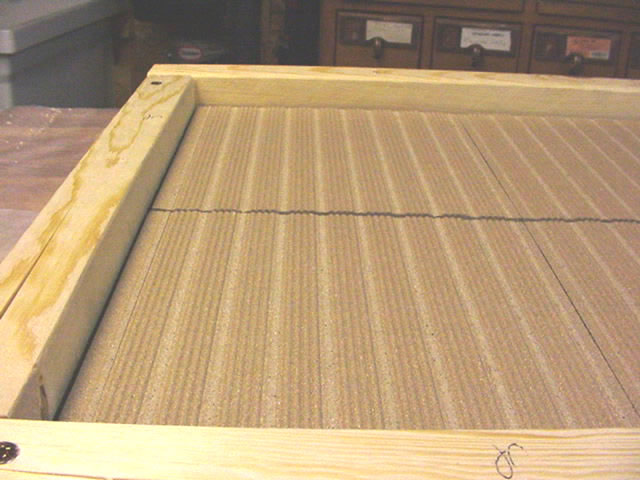
| Another shot of the tiles positioned upside down in the form. My form
was sized so that I didn't have to cut the tiles, for which I'm glad. I
didn't have a tile cutter and didn't want to buy one. They're not cheap.
If you have to cut your tiles, you may want to rent a tile cutter, or maybe
even take the tiles to a tile shop and have them cut them to size. I suggest
you position the tiles right up against the form on all sides. You should
try to get about 1/8" gap between the tiles. Once the stone hardens
(sets up) you can remove the forms and grout these gaps. |
|
|
Once the tiles are positioned, I chose to lay in some 1/2" square
steel tube. This will give the stone strength and make it capable of holding
the firebrick. This tubing is very common and you should be able to find
it in home centers, metal supply shops, hardware stores, etc. |
| I cut the tube so that it just barely fit into the form. This ensures
that it won't be paritally covered with a thin layer of mortar and then
break it out when it expands when heated.When finished, I can see the openings
of the tubes. |
|
|
I was a little worried that the addition of the tubing would increase
the chances that my stone would crack. This would be due to the expansion
characteristics of steel and stressing the masonry. After 3 500° firings,
this is the only crack. If it doesn't get any worse, I'll be happy. If the
shelf ends up breaking apart, I'll make my next shelf without the tubes,
and then get it fired in a ceramic oven at our University. The firing should
give it adequate strength for the firebrick. |
| Time to mix up the mortar. Again, the product
used was Alsey®
HI-CAST Refractory Castable mortar. The mixing instructions are on their
webpage. I mixed it up a little on the wet side. I have since learned that generally speaking, mortar should have as little water as possible. I will use less water next time. This may have contributed to the cracking. The 1.3 meg movie I made
will give you an idea of the consistency. Add water a little at a time until
you get the thickness you want. |
|
When you pour the mortar into the form, lift the tubes
up so some mortar gets between them and the tiles, but not so much that
the tubes get too close to what will be the bottom of your stone. In other
words, you want as much of the mortar covering the tubes as possible.
If the tubes get too close to the surface, they will very likely cause
the mortar to pop off when they expand. |
No picture for this. |
|
Now that the form is full, it's time to strike it
off. This is another 1.3 meg movie showing the screeding process. |
That just about does it. Give the stone 24 hours to harden, and then
remove the form. I'm saving my form for additional stones. Turn the stone
over; be careful it's heavy, and clean it up. Now it's time to grout it.
Use the same mortar to make some grouting material. The Alsey mortar had
pieces of silica that weren't suited for a grout mix. I used a piece of
window screen and "filtered" out the large chunks of silica.
This resulted in a fairly fine material that worked perfect for grout.
Mix this with water to about the same consistency as the mix made earlier.
Work the grout into the joints between the tiles and gently sponge off
the excess. If you haven't grouted before, here's a chance to learn.
|
If I were doing it over again, I would not use the stone for about a week. This gives it a good chance to set up and dry out. When you put it in your oven, remove the door so you don't have to stress your back putting the thing in. Heat the stone slowly, setting the temperature to below boiling point and letting it dry thoroughly for 12 hours or more. If you turn the heat up immediately, you will have problems if there is residual moisture and it turns to steam. This steam might chip or break the stone as it tries to escape. |
|
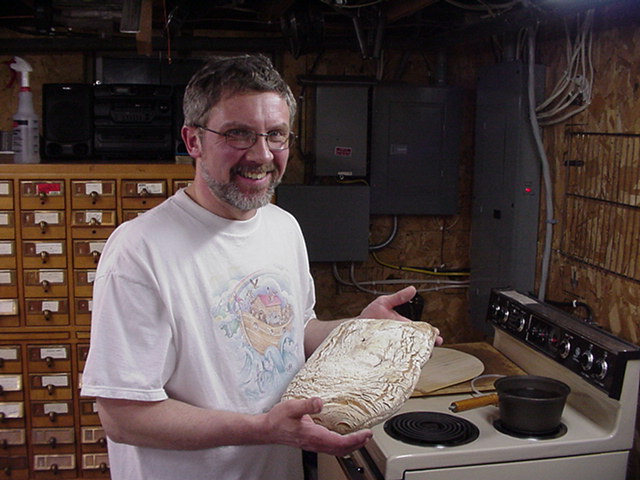
Here is the finished product. Buy some firebrick and insert as shown. |
| Tada! My first loaf of sourdough rustic bread.
It turned out quite well for my first time ever making bread. We ate practically
the whole thing in one setting. There goes my wife's Atkins diet. 1/27/05-
I have made numerous pizzas and loaves of sourdough bread. The stone is
working very well and the crusts are excellent. The stone has not cracked
any more, so I 'm hopeful. I purchased a box of parchment paper from my
local paper supplier, Cole Papers. This stuff is great and is much more
economical than rolls of parchment found in grocery stores. The brand is
Papercon,
Quilon Pan Liners, 1000 16-3/8" x 24-3/8" sheets. They were about
$51.55 for the box. Give some to your friends for cookies and other baking
tasks. They make cleanup much easier. They get pretty dark at bread baking
temps (~500°). After doing some checking, Papercon's Premium Silicone
Parchment might have been a better choice. |
|

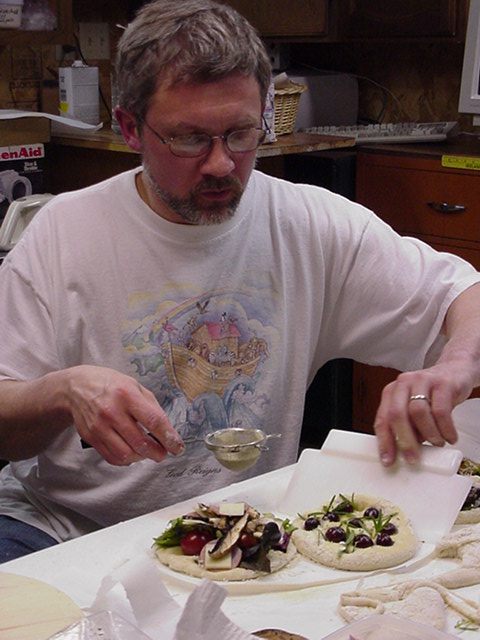
Neapolitan pizza...mmmm. If you ever make
to St. Paul, MN, be sure to eat at Punch Pizza. Link 1,
2,
3.
|
Proud papa.
|
Leftover dough becoming focaccia
|
1/12/2007 Update. People are going nuts for my sourdough. The crusts are incredible and it's truely a joy to give the bread away. I wish I had more time to bake. I've even overnighted the bread to close friends and family across the good old US of A. This is a hoot. You gotta make this oven and learn how to make this bread. If you enjoy cooking and live to put smiles on people's faces, you must do this NOW. I had a small child come up to me after a church supper and they said, "That bread was the best stuff I've ever had!"
Whoa, now that's a compliment to get excited about!!
 |